
Chex Mix has been a beloved snack for generations, loved for its combination of crunch, saltiness, and rich flavor. Although Chex Mix can be made in the microwave, oven-baking elevates it, giving a golden, toasty finish that adds depth to every bite. In this guide, we’ll cover everything you need to know to make perfect oven-baked Chex Mix, from the ingredients and preparation to creative flavor twists and expert tips for getting it just right.
Oven-baking Chex Mix brings out a richer flavor and ensures a consistently crunchy texture. To pair it with the perfect dip, see The Ultimate Guide to Making the Perfect Rotel Dip Recipe, which is a crowd-pleasing addition to any snack spread. For more insight on seasoning choices, check out What is the Chex Mix Seasoning Made Of? to understand the unique flavors behind each ingredient.
Why Bake Chex Mix in the Oven?
Baking Chex Mix in the oven allows each piece to be evenly coated with seasonings and slowly toasted for an irresistible crunch. Unlike microwave methods, oven-baking allows the butter and spices to fully absorb, creating a deeper flavor and a golden-brown finish. This method also offers better control over the texture, making it easier to customize your Chex Mix to be as crispy or soft as you prefer.
Essential Ingredients for Classic Oven-Baked Chex Mix
Creating Chex Mix from scratch gives you the chance to balance flavors and textures exactly as you like. Here’s what you’ll need for a classic batch:
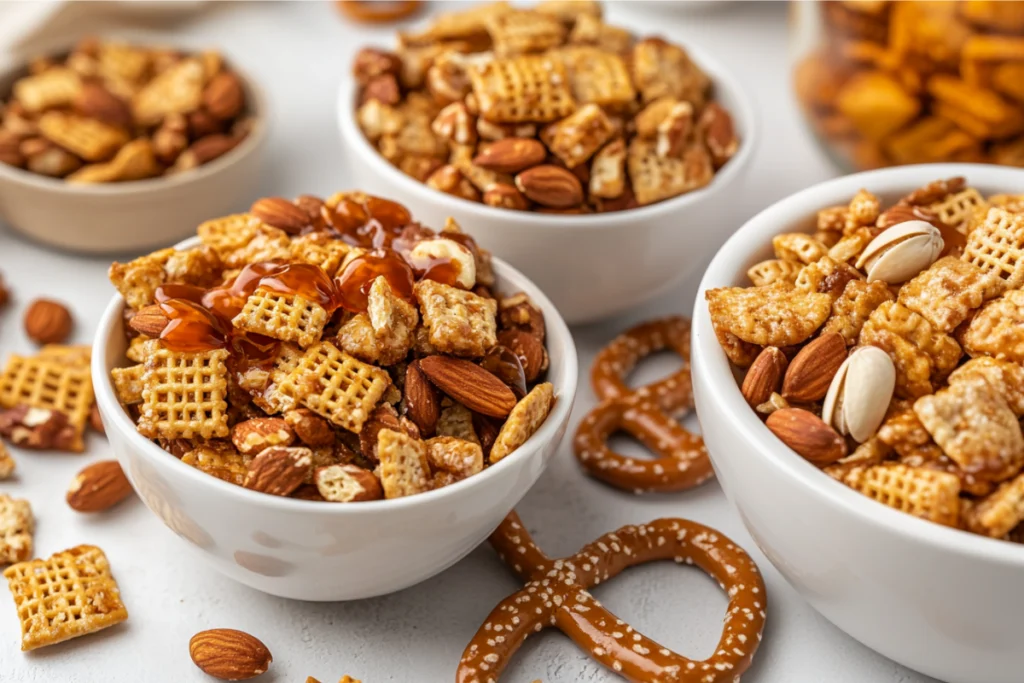
- Chex Cereals: A mix of rice, corn, and wheat Chex adds variety in flavor and texture.
- Nuts and Pretzels: Adding peanuts, almonds, or pretzels introduces an extra layer of crunch and savory richness.
- Butter and Seasoning: Melted butter binds the seasonings to each piece, while Worcestershire sauce, garlic powder, and seasoned salt create that signature Chex Mix flavor.
Step-by-Step Guide to Making Oven-Baked Chex Mix
1. Preparation and Ingredient Setup
- Preheat Oven: Set the oven to 250°F to bake the Chex Mix at a low, even temperature.
- Prepare the Seasoning Mix: Melt 1/2 cup of butter and stir in 1-2 tablespoons of Worcestershire sauce, 1 teaspoon of seasoned salt, and 1/2 teaspoon each of garlic and onion powder.
- Combine Ingredients: In a large bowl, mix 3 cups each of rice, corn, and wheat Chex cereals, along with 1 cup of pretzels and 1 cup of nuts.
2. Mixing Ingredients for Even Seasoning
Pour the butter and seasoning mixture over the cereal blend, stirring thoroughly to coat each piece. This ensures that every bite of Chex Mix has a balanced, well-distributed flavor.
3. Baking Instructions for Chex Mix
Spread the Chex Mix evenly on a baking sheet lined with parchment paper. Bake at 250°F for one hour, stirring every 15 minutes to prevent burning and ensure even cooking. This slow baking allows the seasoning to fully absorb and results in a perfectly crisp texture.
4. Adjusting Bake Time for Desired Texture
For a crunchier texture, bake for an additional 5-10 minutes. For a softer result, reduce the bake time by 10 minutes. Experimenting with bake time allows you to customize the Chex Mix texture to your preference.
5. Cooling and Storing Oven-Baked Chex Mix
Once done, let the Chex Mix cool completely before storing. This step is essential to maintain crispness, as sealing warm Chex Mix can create condensation and cause sogginess. Store in an airtight container at room temperature for up to two weeks to keep it fresh and crunchy.
Flavor Variations and Customization Ideas
The classic Chex Mix recipe is just the beginning. Here are some popular variations to try that bring a new twist to the traditional flavors.
1. Spicy Chex Mix
For a kick, add cayenne pepper, red pepper flakes, or even a dash of hot sauce to the seasoning mix. Start with a small amount to control the heat level, then adjust to taste. This spicy variation is perfect for those who enjoy a bit of heat in their snacks.
2. Extra-Bold Chex Mix
To make extra-bold Chex Mix, increase the Worcestershire sauce and seasoned salt by 50%. This version delivers a more intense flavor, ideal for those who love a bold, savory snack with deep seasoning.
3. Sweet and Savory Chex Mix
Adding a touch of brown sugar or honey to the butter mixture creates a delightful sweet and savory twist. This flavor balance is great for those who enjoy a hint of sweetness with their salty snacks. Just a tablespoon of brown sugar adds a caramelized flavor that pairs beautifully with the other seasonings.
Homemade vs. Store-Bought Seasoning Blends
Making your own Chex Mix seasoning blend allows for full control over each ingredient, making it easy to adjust salt, spice, and sweetness to your preferences. While store-bought blends are convenient, they often lack the freshness and customization that a homemade mix provides. With homemade seasoning, you can experiment and create a flavor profile that’s just right for you.
Tips for Perfecting Your Oven-Baked Chex Mix
- Balance Ingredients: Aim for a good ratio of cereals, nuts, and pretzels to create a variety of textures in each bite.
- Stir Regularly: Stirring every 15 minutes ensures even baking and prevents burning.
- Cool Completely: Allow the Chex Mix to cool fully before storing to maintain crispness.
Frequently Asked Questions (FAQs)
How Long Should You Bake Chex Mix?
Bake Chex Mix at 250°F for about one hour, stirring every 15 minutes. This low and slow bake helps the seasoning to fully absorb, resulting in a crunchy, well-balanced snack.
Can You Use Different Cereals in Chex Mix?
Yes, you can experiment with other cereals like Crispix or Cheerios for a unique twist. While the traditional rice, corn, and wheat Chex provide the classic texture, adding different cereals can make the mix even more interesting.
How Do You Keep Chex Mix Crunchy?
To keep Chex Mix crunchy, store it in an airtight container at room temperature, away from heat and humidity. Avoid refrigerating, as moisture can cause it to become soggy.
Can You Make Chex Mix Without Butter?
Yes, olive oil or other vegetable oils can replace butter if you’re looking for a dairy-free option. Olive oil provides a lighter taste, though it doesn’t offer the same rich flavor as butter.
Conclusion and Final Tips for Perfect Oven-Baked Chex Mix
Achieving the ideal oven-baked Chex Mix is all about balance—finding the right blend of flavors, achieving a satisfying crunch, and customizing the seasoning to your taste. By following these steps and experimenting with different variations, you’ll create a snack that’s perfectly crispy and delicious. Chex Mix is versatile, allowing you to adjust each batch to suit your mood or occasion.
For a great snack spread, consider pairing your Chex Mix with something creamy, like What is Rotel Dip Made Of? A Comprehensive Guide, which makes an excellent dip for a crunchy Chex Mix.
Enjoy your homemade Chex Mix, and let each bite reflect your unique flavor preferences!