

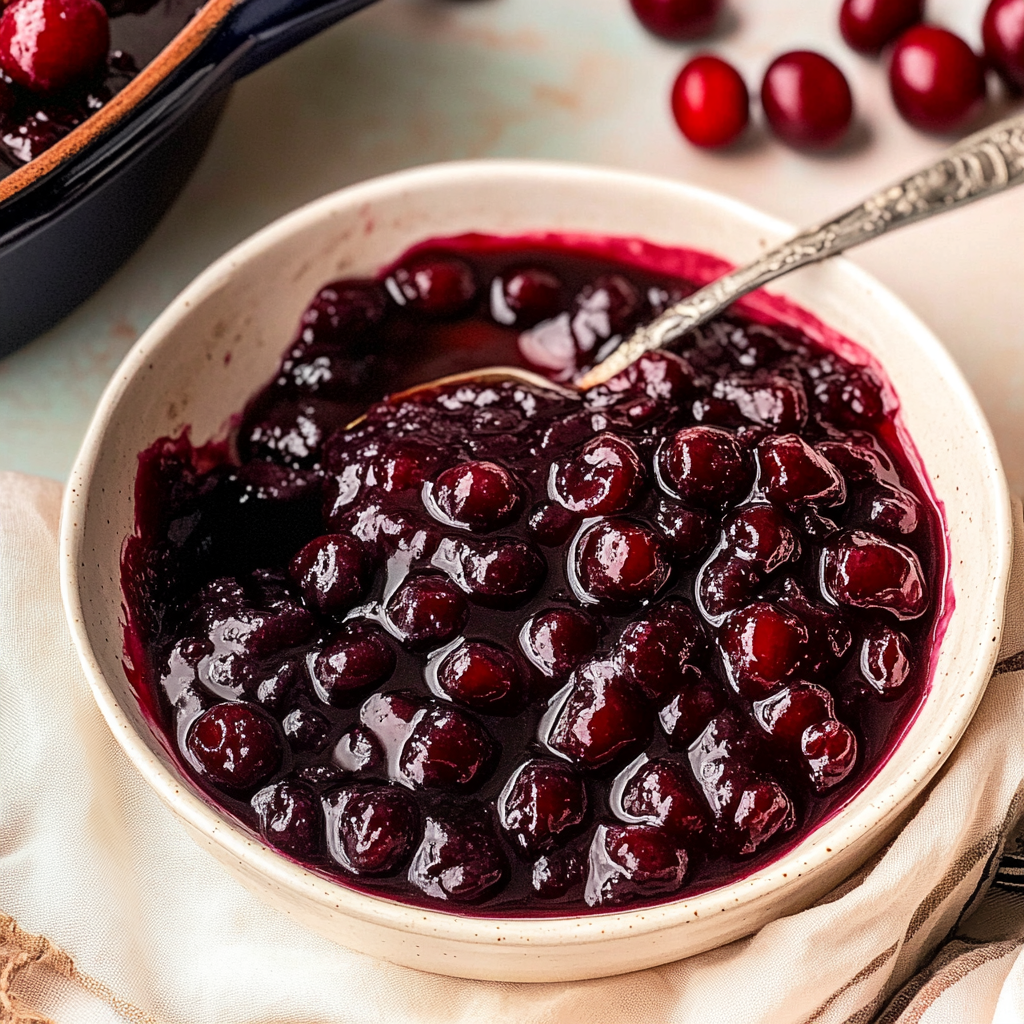
Indulging in a slice of warm cherry pie is like getting a sweet hug from your grandma. The moment you take that first bite, the juicy cherries burst with flavor, and the buttery crust crumbles just right. balsamic cherries topping This is where our star ingredient comes into play: Cherry Pie Filling. Whether it’s for a summer barbecue or a cozy winter evening, this delightful filling can make any occasion feel special.
Picture yourself at a picnic, surrounded by friends and laughter, while the aroma of baked cherry pie wafts through the air. Suddenly, you realize you forgot to bring dessert. Fear not! With this easy Cherry Pie Filling recipe, you’ll not only save the day but also become the hero of the gathering—and possibly earn some lifelong friends in the process. For more inspiration, check out this Pecan Pie Bars recipe recipe.
Why You'll Love This Cherry Pie Filling
- This amazing Cherry Pie Filling offers more than just flavor; it makes meal prep a breeze.
- You can easily customize the ingredients based on what you have on hand.
- The vibrant colors and aromas make it visually stunning on any dinner table.
- Perfect for grilling but versatile enough for baking or pan-searing.
Ingredients for Cherry Pie Filling
Here’s what you’ll need to make this delicious Cherry Pie Filling:
- Fresh Cherries: Opt for ripe, sweet cherries for that perfect balance of tartness and sweetness that will elevate your pie.
- Sugar: Granulated sugar adds sweetness to balance the natural tartness of the cherries; adjust according to your taste preference.
- Cornstarch: This thickener helps create that luscious texture we all love in pie fillings—like a warm hug in every bite!
- Water: Just enough to dissolve your cornstarch and help create that silky filling consistency.
- Lemon Juice: A splash of lemon juice brightens up the flavor profile and enhances the cherry goodness.
The full ingredients list, including measurements, is provided in the recipe card directly below.
How to Make Cherry Pie Filling
Follow these simple steps to prepare this delicious Cherry Pie Filling:
Step 1: Prep Your Cherries
Start by washing your fresh cherries thoroughly. Remove the stems and pits because biting down on a pit is like finding a rock in your dessert stash—absolutely no fun!
Step 2: Mix It Up
In a medium saucepan over medium heat, combine your pitted cherries with sugar and lemon juice. Stir gently until everything is well mixed and let those cherries start releasing their juices—this is where magic begins!
Step 3: Thicken It Up
In a separate bowl, mix cornstarch with water until smooth. Gradually pour this mixture into your bubbling cherry concoction while stirring continuously. Watch as it transforms into a thickened dream of cherry delight!
Step 4: Simmer Away
Reduce the heat to low and let your filling simmer for about five minutes until it’s glossy and thick enough to spread on toast (or eat by itself if nobody’s watching).
Step 5: Cool Down
Remove from heat and let it cool slightly before using it in pies or other desserts. If you can resist diving right in!
Step 6: Serve It Up
Transfer your glorious cherry filling into a pie crust or any dessert of your choice. Enjoy as is or top it off with whipped cream for an extra treat.
And there you have it! Your very own Cherry Pie Filling made with love (and maybe just a hint of mischief). This delightful treat pairs perfectly with vanilla ice cream or can be spooned onto pancakes for breakfast. The possibilities are endless!
You Must Know About Cherry Pie Filling
- This amazing Cherry Pie Filling offers more than just flavor; it makes meal prep a breeze.
- You can easily customize the ingredients based on what you have on hand.
- The vibrant colors and aromas make it visually stunning on any dinner table.
- Perfect for grilling but versatile enough for baking or pan-searing.
Perfecting Cherry Pie Filling Cooking Process
To achieve the best results with your Cherry Pie Filling, start by pitting the cherries first, then combine them with sugar and cornstarch in a saucepan. As the mixture heats, stir continuously until it thickens beautifully.
Add Your Touch to Cherry Pie Filling
Feel free to swap out sugars for a more natural sweetener or add a splash of vanilla extract for extra depth. You can also mix in some almond extract or spices like cinnamon for that extra zing.
Storing & Reheating Cherry Pie Filling
Store your Cherry Pie Filling in an airtight container in the fridge for up to a week. To reheat, gently warm it in a saucepan over low heat while stirring occasionally to maintain its delightful consistency.
Chef's Helpful Tips for Cherry Pie Filling
I once made this Cherry Pie Filling for a family gathering, and my cousin declared it “better than therapy!” Who knew a bowl of cherries could bring so much joy?
FAQs About Cherry Pie Filling
What is Cherry Pie Filling?
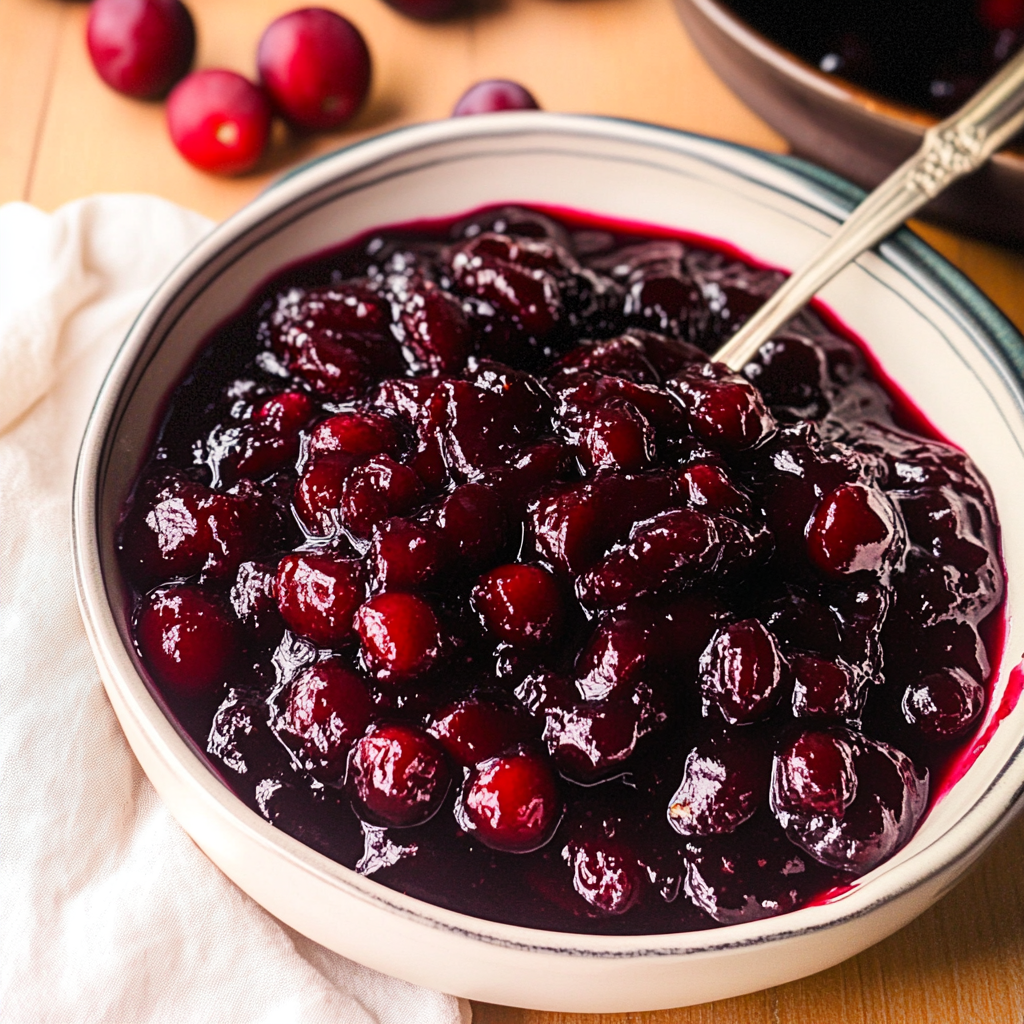
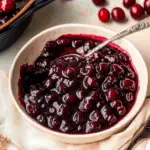
Cherry Pie Filling is a sweet and tart mixture typically made from fresh or canned cherries, sugar, and thickening agents. It serves as the primary filling for cherry pies, providing that delicious burst of flavor with every bite. This filling can be homemade or store-bought, making it a convenient choice for bakers of all skill levels. The vibrant red color and delightful aroma enhance any dessert, making Cherry Pie Filling a favorite during summer and holiday seasons.
How do I make Cherry Pie Filling from scratch?
Making Cherry Pie Filling from scratch is simple and rewarding. Start by pitting fresh cherries and placing them in a saucepan. Add sugar, lemon juice, and a cornstarch slurry to thicken the mixture. Cook over medium heat until bubbly and thickened. Remove from heat and let it cool before using it in your pie crust. Homemade Cherry Pie Filling offers a fresher flavor compared to store-bought options, allowing you to customize sweetness and tartness.
Can I use frozen cherries for Cherry Pie Filling?
Yes, you can absolutely use frozen cherries to make Cherry Pie Filling! Frozen cherries are often picked at peak ripeness, ensuring excellent flavor. Thaw the cherries before cooking; this helps release excess moisture. fruit salsa with cinnamon chips Adjust the amount of sugar since frozen fruits can sometimes be sweeter than fresh ones. Using frozen cherries is a great way to enjoy cherry pie year-round without sacrificing taste.
How long does homemade Cherry Pie Filling last?
Homemade Cherry Pie Filling can last about one week when stored in an airtight container in the refrigerator. For longer storage, consider freezing it in freezer-safe bags or containers for up to six months. Ensure to label your containers with the date so you can keep track of freshness. With proper storage techniques, you can enjoy your delicious Cherry Pie Filling whenever you crave it!
Conclusion for Cherry Pie Filling
In summary, Cherry Pie Filling is a delightful addition to any dessert table, offering both flavor and vibrant color. Whether you choose to make it from scratch or opt for convenience with store-bought options, its versatility shines through in various recipes. frozen yogurt bites recipe Use fresh or frozen cherries depending on availability, and remember that proper storage will keep your homemade filling fresh longer. Enjoy creating scrumptious desserts with your cherished recipe for Cherry Pie Filling!
Homemade Cherry Pie Filling
Indulge in the delightful taste of homemade cherry pie filling that brings a burst of summer flavor to your desserts. This easy-to-follow recipe combines fresh cherries with sugar and a touch of lemon, creating a luscious filling perfect for pies, pancakes, or simply enjoyed straight from the jar. Impress your friends at gatherings or treat yourself during cozy evenings at home with this versatile and delicious cherry filling.
- Prep Time: 15 minutes
- Cook Time: 10 minutes
- Total Time: 25 minutes
- Yield: About 4 servings 1x
- Category: Dessert
- Method: Baking
- Cuisine: American
Ingredients
- 4 cups fresh cherries, pitted
- 1 cup granulated sugar
- 3 tablespoons cornstarch
- 1/2 cup water
- 2 tablespoons lemon juice
Instructions
- Prepare cherries by washing and pitting them.
- In a medium saucepan over medium heat, combine pitted cherries, sugar, and lemon juice. Stir until mixed and let the cherries release their juices.
- In a separate bowl, mix cornstarch with water until smooth. Gradually add to the cherry mixture while stirring continuously.
- Allow it to simmer on low heat for about five minutes until thickened and glossy.
- Remove from heat and let cool before using in pies or other desserts.
Nutrition
- Serving Size: 1/4 cup (60g)
- Calories: 110
- Sugar: 24g
- Sodium: 5mg
- Fat: 0g
- Saturated Fat: 0g
- Unsaturated Fat: 0g
- Trans Fat: 0g
- Carbohydrates: 27g
- Fiber: 2g
- Protein: 1g
- Cholesterol: 0mg

Leave a Comment