

Imagine diving into a bowl of smooth, velvety vanilla pudding desserts, where each spoonful envelops your taste buds in a sweet embrace of creamy goodness. The aroma wafts through the air, teasing your senses with hints of vanilla that instantly transport you to a cozy kitchen filled with laughter and warmth.
This delightful dessert is the ultimate treat for any occasion, whether it’s a family gathering or a quiet evening at home. As you relish the rich flavors topped with a dollop of whipped cream or vibrant fresh fruit, you’ll find yourself reminiscing about childhood memories and anticipating new moments shared over this timeless classic.
Why Does Everyone Love vanilla pudding desserts?
Creamy texture that melts in your mouth makes this vanilla pudding a delightful treat. Simple ingredients like milk, sugar, and pure vanilla extract create a rich flavor that’s hard to resist. Quick prep time of just 15 minutes means you can whip it up anytime. Versatile toppings, from whipped cream to fresh berries, allow you to customize each serving. Whether it’s a family gathering or a quiet night in, these desserts are sure to impress!
vanilla pudding desserts Ingredients
- For the Pudding Base
- 2 cups milk (whole or 2%) – This creamy base provides richness and a smooth texture for your vanilla pudding desserts.
- 1/2 cup granulated sugar – Sweetens the pudding perfectly, balancing the flavors without overpowering the vanilla essence.
- 1/4 cup cornstarch – Acts as a thickening agent to create that luxuriously creamy consistency we all love.
- 1/4 teaspoon salt – Enhances the sweetness and rounds out the flavor profile beautifully.
- 2 teaspoons vanilla extract (pure vanilla extract) – Pure vanilla extract adds an aromatic depth that elevates your pudding to new heights.
- 2 tablespoons unsalted butter (cut into pieces) – Adds a touch of richness and silkiness to the final dessert.
- For Toppings
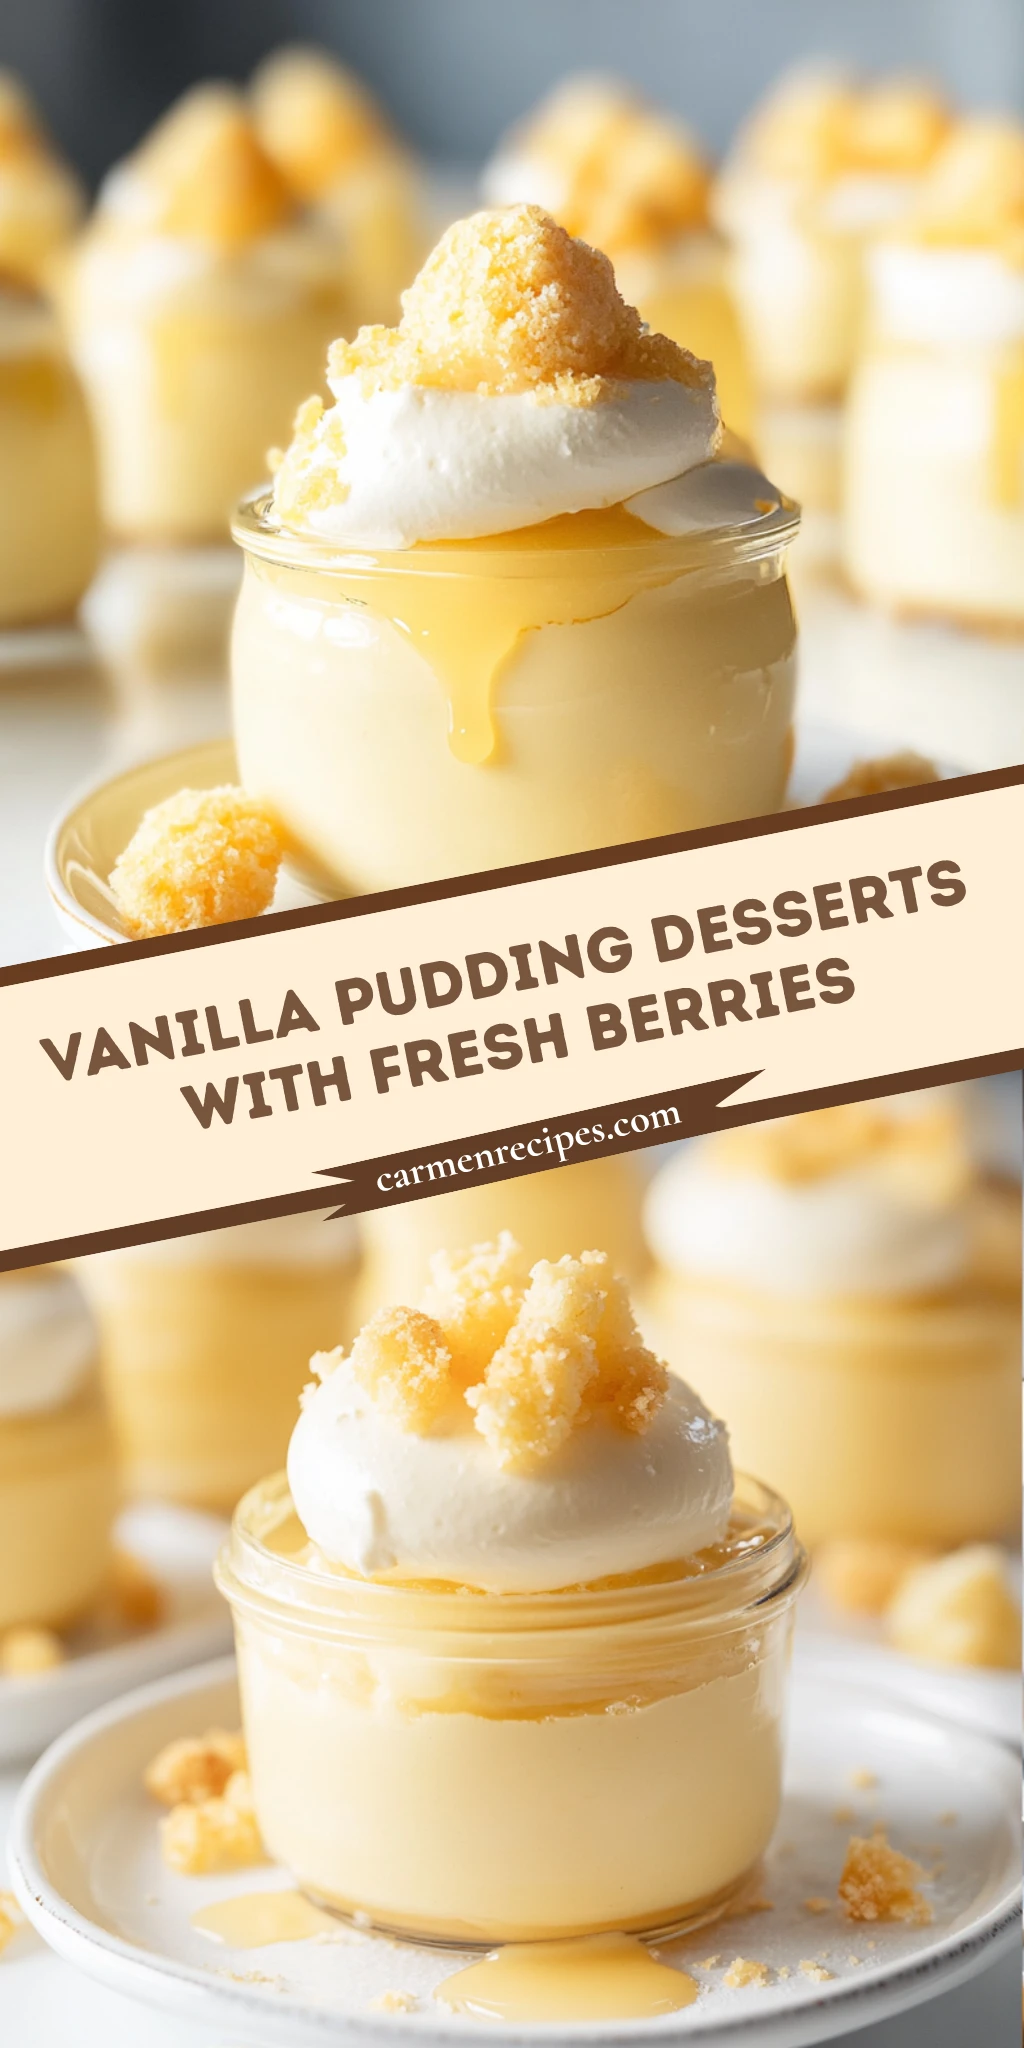
- 1 cup whipped cream (for serving) – Light and fluffy, it’s the perfect topper for your creamy vanilla pudding delights.
- 1/2 cup fresh berries (optional) – Fresh berries add a burst of color and a tangy contrast to the creamy sweetness of the pudding.
How to Make vanilla pudding desserts
1. Whisk Together: In a medium saucepan, whisk together 2 cups of milk, 1/2 cup of granulated sugar, 1/4 cup of cornstarch, and 1/4 teaspoon of salt over medium heat. This mixture should start to blend beautifully as you combine the ingredients.
2. Thicken the Mixture: Continue to whisk continuously until the mixture thickens and begins to bubble, about 5-7 minutes. You’ll know it’s ready when it has a smooth, creamy texture that clings to your whisk.
3. Add Flavor: Remove from heat and stir in 2 teaspoons of pure vanilla extract and 2 tablespoons of cut-up unsalted butter until smooth. The aroma will be heavenly—this is where your vanilla pudding truly comes alive!
4. Cool Down: Pour the pudding into serving bowls and let it cool to room temperature. This allows the flavors to meld beautifully while you prepare for the next step.
5. Chill Out: Once cooled, cover each bowl with plastic wrap and refrigerate for at least 2 hours. This step ensures your vanilla pudding desserts are perfectly chilled and delightful when served.
Serve:
6. Top It Off: Before serving, generously top each pudding with 1 cup of whipped cream and add fresh berries if desired for an extra pop of color and flavor!
Optional: Add a sprinkle of cinnamon for a warm twist!
Exact quantities are listed in the recipe card below.
Tips for the Best vanilla pudding desserts
- Milk Choice: Use whole or 2% milk for a creamier texture; lower fat options can result in a thinner pudding.
- Whisk Constantly: Avoid lumps by whisking continuously over medium heat until the mixture thickens; this should take about 5-7 minutes.
- Cornstarch Precision: Measure cornstarch accurately to prevent pudding from being too runny; a little too much can make it overly thick.
- Cooling Time: Allow the pudding to cool completely before refrigerating; this ensures it sets properly and develops a smooth consistency.
- Serve Fresh Toppings: Add whipped cream and fresh berries just before serving for a delightful contrast in texture and temperature in your vanilla pudding desserts.
How to Store and Freeze vanilla pudding desserts
- Fridge: Store your vanilla pudding desserts in an airtight container for up to 3 days. This keeps it fresh and creamy, ready for a delightful treat.
- Freezer: If you want to enjoy your pudding later, freeze it in a freezer-safe container for up to 2 months. Note that the texture may change slightly upon thawing.
- Reheating: When ready to serve, gently reheat the pudding on the stove over low heat, stirring continuously until warmed through. Avoid the microwave as it can alter the texture.
- Toppings Storage: Keep whipped cream and fresh berries separate in the fridge. Whipped cream lasts about 2 days, while berries should be consumed within 1–2 days for optimal freshness.
vanilla pudding desserts Variations
Feel free to unleash your creativity and make this creamy delight even more irresistible!
- Dairy-Free: Swap regular milk for almond, oat, or coconut milk for a deliciously creamy pudding. This alternative still keeps the texture smooth and rich. You might enjoy the subtle flavor that coconut milk offers, adding a tropical twist.
- Sugar-Free: Use a sugar substitute like erythritol or stevia to maintain sweetness without the calories. Adjust the quantity based on the sweetness level you prefer. This is perfect for those watching their sugar intake while still craving something sweet.
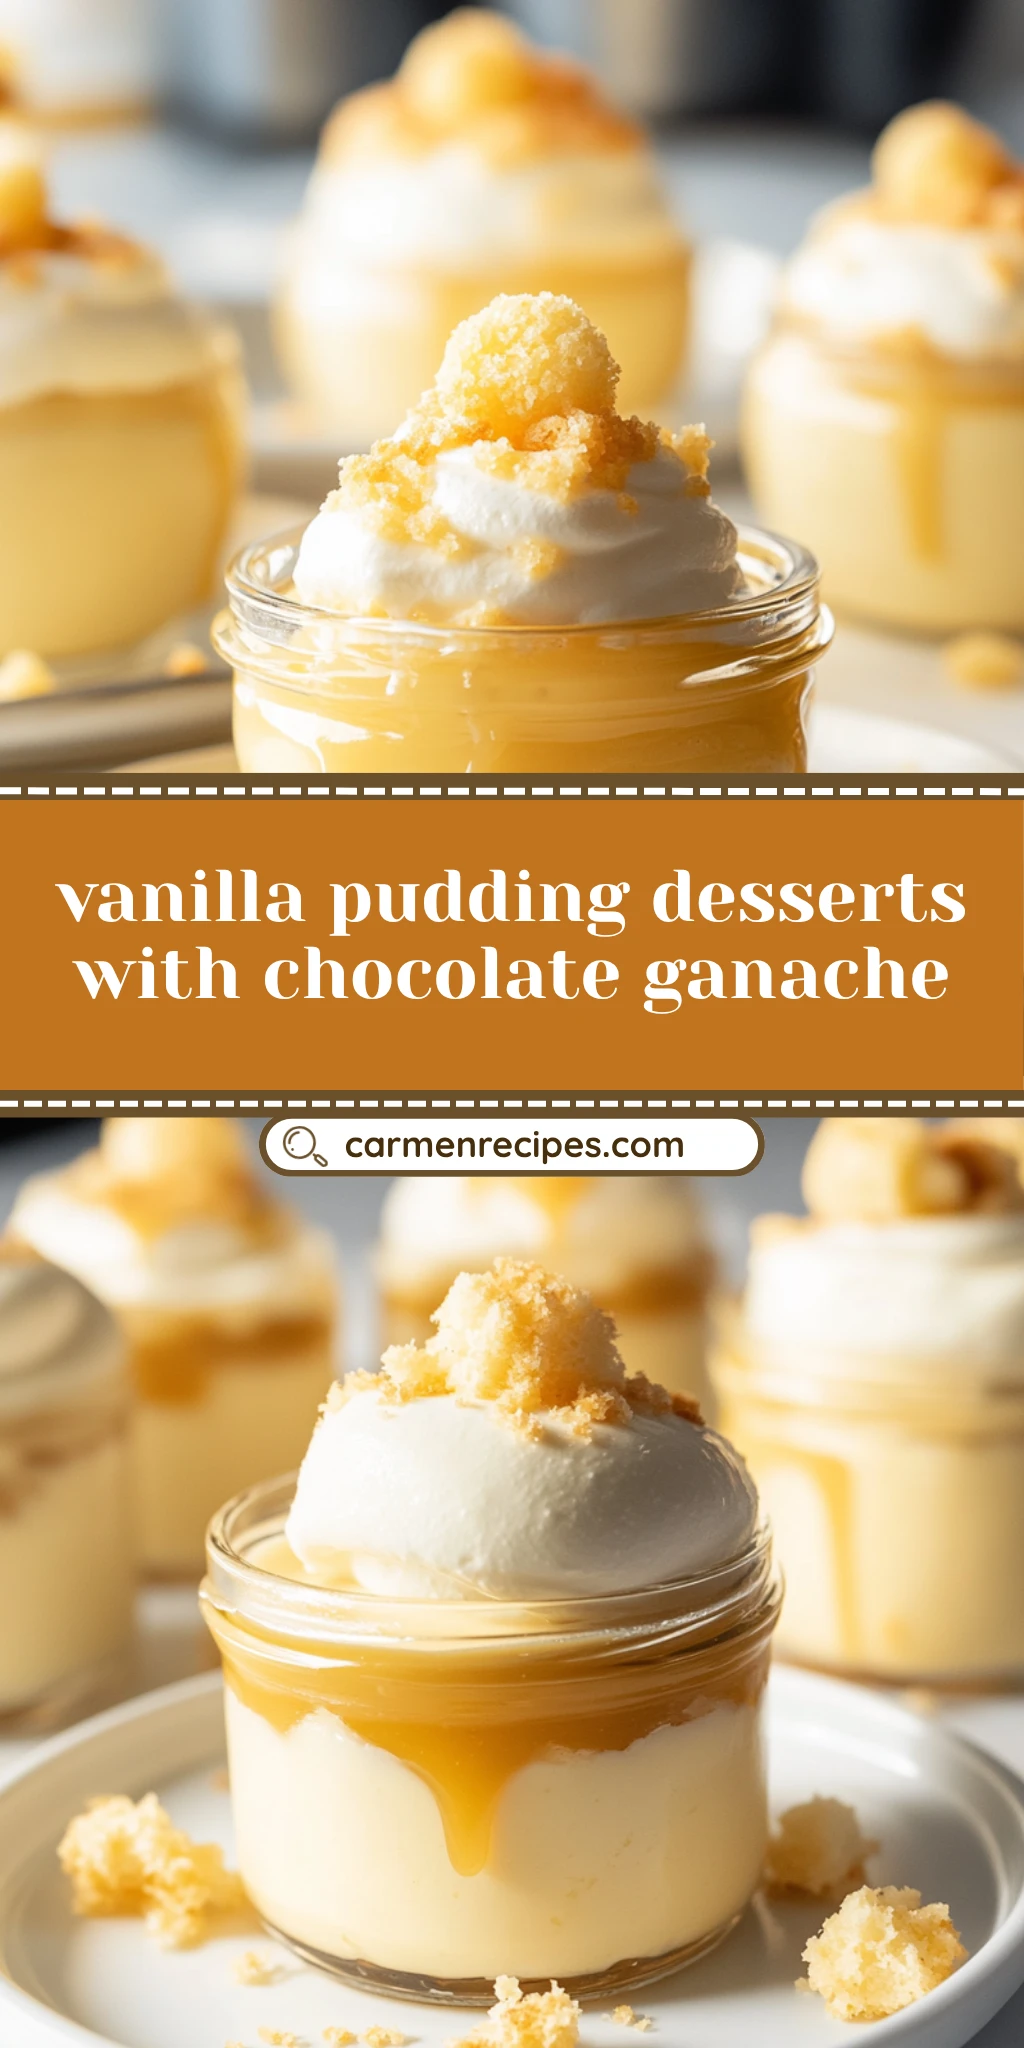
- Chocolate Lovers: Mix in 1/3 cup of unsweetened cocoa powder for a rich chocolate twist. Blend it well into the milk before heating. This variation will satisfy any chocolate cravings while keeping that beloved creamy consistency.
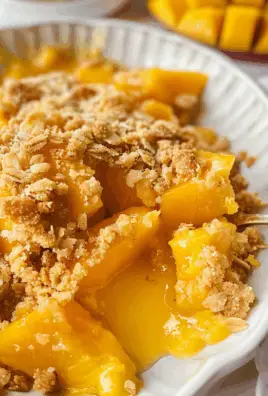
- Fruit-Infused: Add a few tablespoons of pureed fruit like strawberries or mangoes during cooking for a fruity flavor burst. Not only does this add color, but it also introduces natural sweetness and makes for an eye-catching dessert.
- Nutty Delight: Incorporate 1/4 cup of ground almonds or hazelnuts into the pudding base for added texture and flavor. The nutty undertones beautifully complement the vanilla, making each spoonful even more enjoyable.
- Spiced Up: Add a pinch of cinnamon or nutmeg to the pudding base for a warm, comforting flavor profile. This subtle hint of spice elevates the vanilla, making it perfect for cozy evenings.
- Zesty Lemon: Stir in 1 tablespoon of lemon zest for a refreshing citrus kick that brightens up the classic vanilla taste. This twist can be particularly delightful when topped with fresh berries, creating a vibrant dessert experience.
- Caramel Drizzle: Top your finished pudding with homemade or store-bought caramel sauce for an indulgent finish. The sweet, sticky caramel contrasts beautifully with the smooth vanilla base and adds an extra layer of decadence.
Make Ahead Options
This creamy vanilla pudding is not only a delightful dessert but also perfect for meal prep, allowing you to enjoy this comforting treat anytime. You can prepare the pudding base ahead of time by whisking together 2 cups of milk, 1/2 cup granulated sugar, 1/4 cup cornstarch, and 1/4 teaspoon salt over medium heat until it thickens. After incorporating the 2 teaspoons of pure vanilla extract and 2 tablespoons of unsalted butter, pour the mixture into bowls and let it cool. Cover with plastic wrap and refrigerate for up to 3 days. When you’re ready to serve your vanilla pudding desserts, simply top each bowl with freshly whipped cream and optional fresh berries. This prep-ahead approach saves you time while ensuring your dessert remains fresh and delicious!
Your vanilla pudding desserts Questions, Answered
What type of milk can I use for the pudding?
You can use either whole milk or 2% milk for this vanilla pudding recipe. Whole milk will give you a creamier texture, while 2% is a lighter option. Both will yield delicious results!
How should I store leftover vanilla pudding?
To store any leftover vanilla pudding, ensure it’s covered tightly with plastic wrap to prevent a skin from forming on top. It can be kept in the refrigerator for up to 3 days. Just remember to give it a gentle stir before serving again!
Can I freeze vanilla pudding?
While freezing is possible, it’s not recommended as the texture may become grainy upon thawing. If you must freeze it, do so in an airtight container for up to 1 month. However, for the best creamy experience, enjoy it fresh after chilling!
What if my pudding doesn’t thicken properly?
If your pudding isn’t thickening after about 5-7 minutes of whisking over medium heat, make sure your heat is adequate and that you’ve whisked continuously. If needed, you can mix a bit more cornstarch with cold milk and add it to the saucepan, letting it cook for another couple of minutes until thickened.
How many servings does this recipe make?
This delightful vanilla pudding recipe makes about 4 servings, perfect for sharing with family or friends! Each serving contains approximately 220 calories, making it a sweet treat that won’t break the calorie bank.
What toppings go well with vanilla pudding?
While whipped cream is a classic choice that adds a lovely lightness, fresh berries are a fantastic addition too! Strawberries, blueberries, or raspberries not only enhance flavor but also add beautiful color and nutrition to your dessert. Enjoy experimenting with different toppings!

Vanilla Pudding Desserts
Ingredients
Method
- In a medium saucepan, whisk together the milk, sugar, cornstarch, and salt over medium heat.
- Continue to whisk until the mixture thickens and begins to bubble, about 5-7 minutes.
- Remove from heat and stir in the vanilla extract and butter until smooth.
- Pour the pudding into serving bowls and let it cool to room temperature.
- Once cooled, cover with plastic wrap and refrigerate for at least 2 hours.
- Before serving, top each pudding with whipped cream and fresh berries if desired.

Leave a Comment