

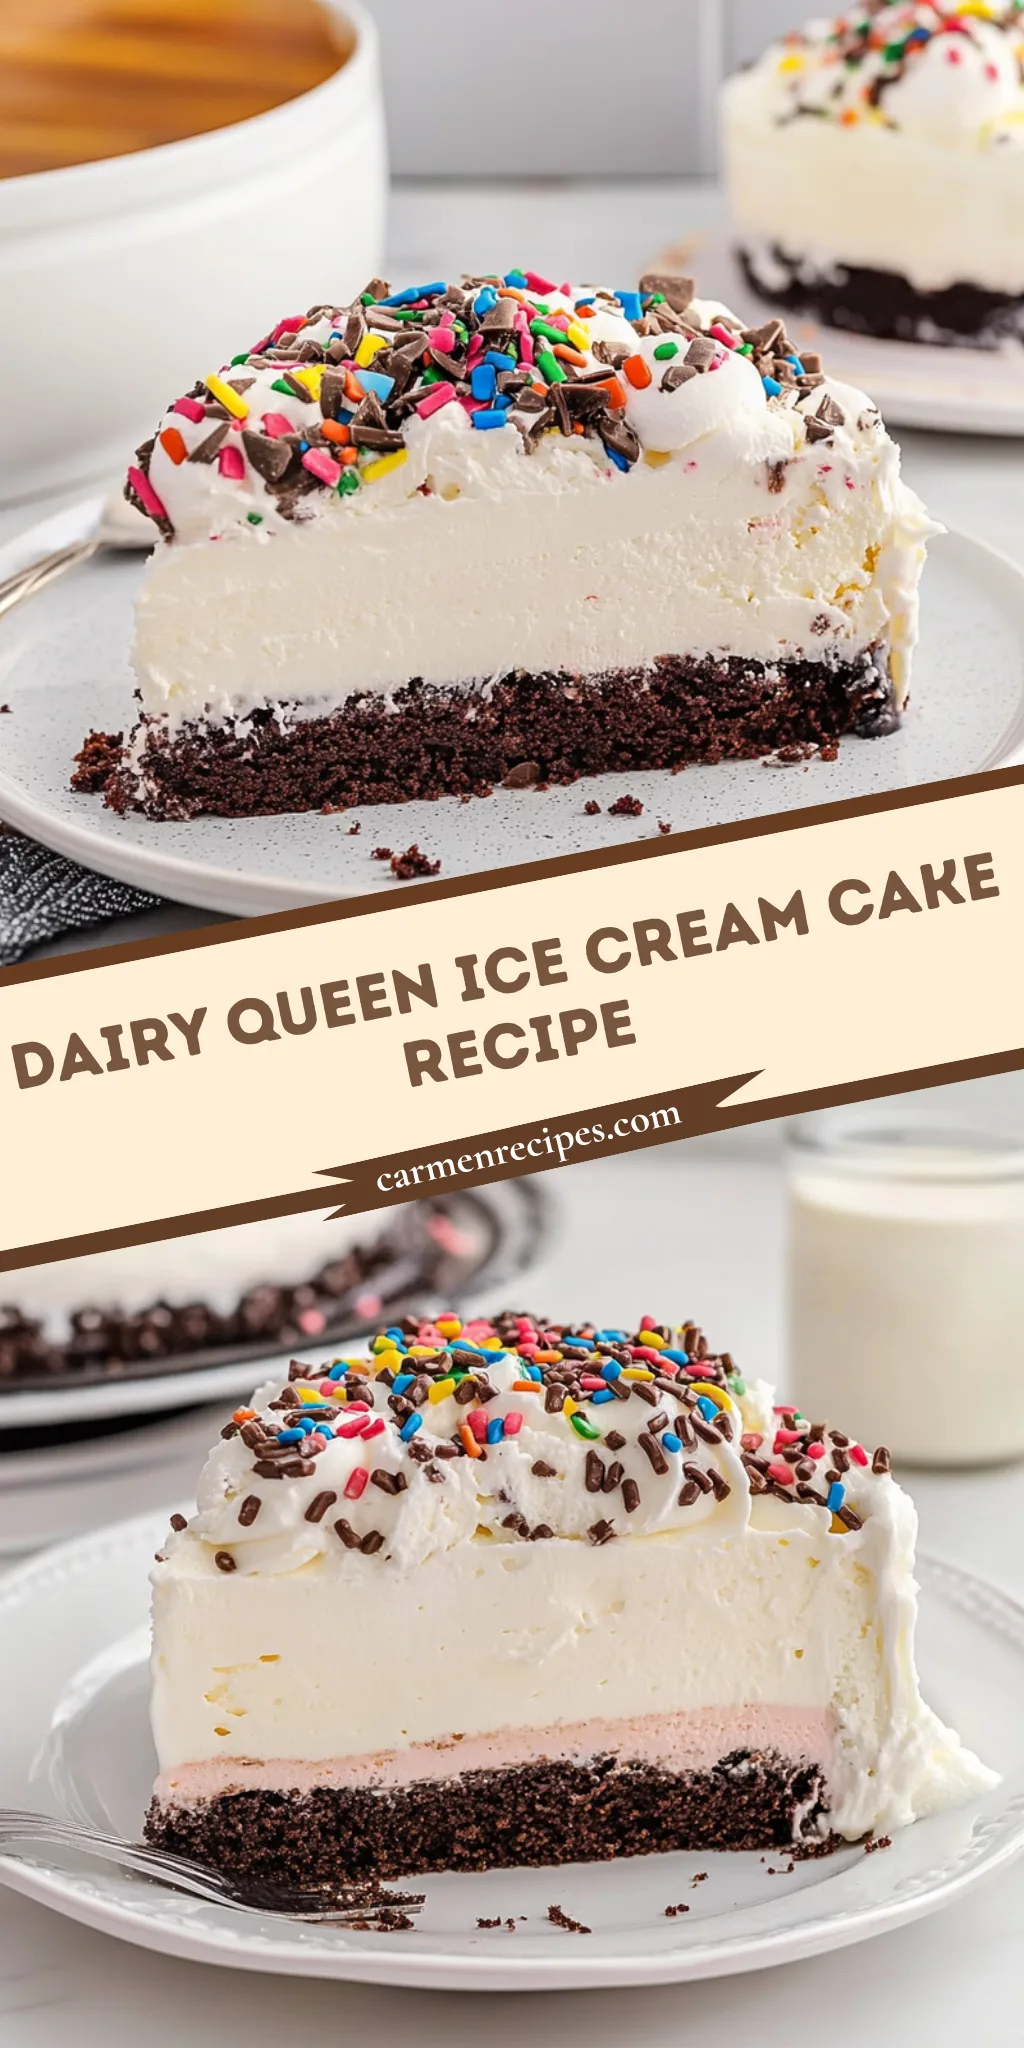
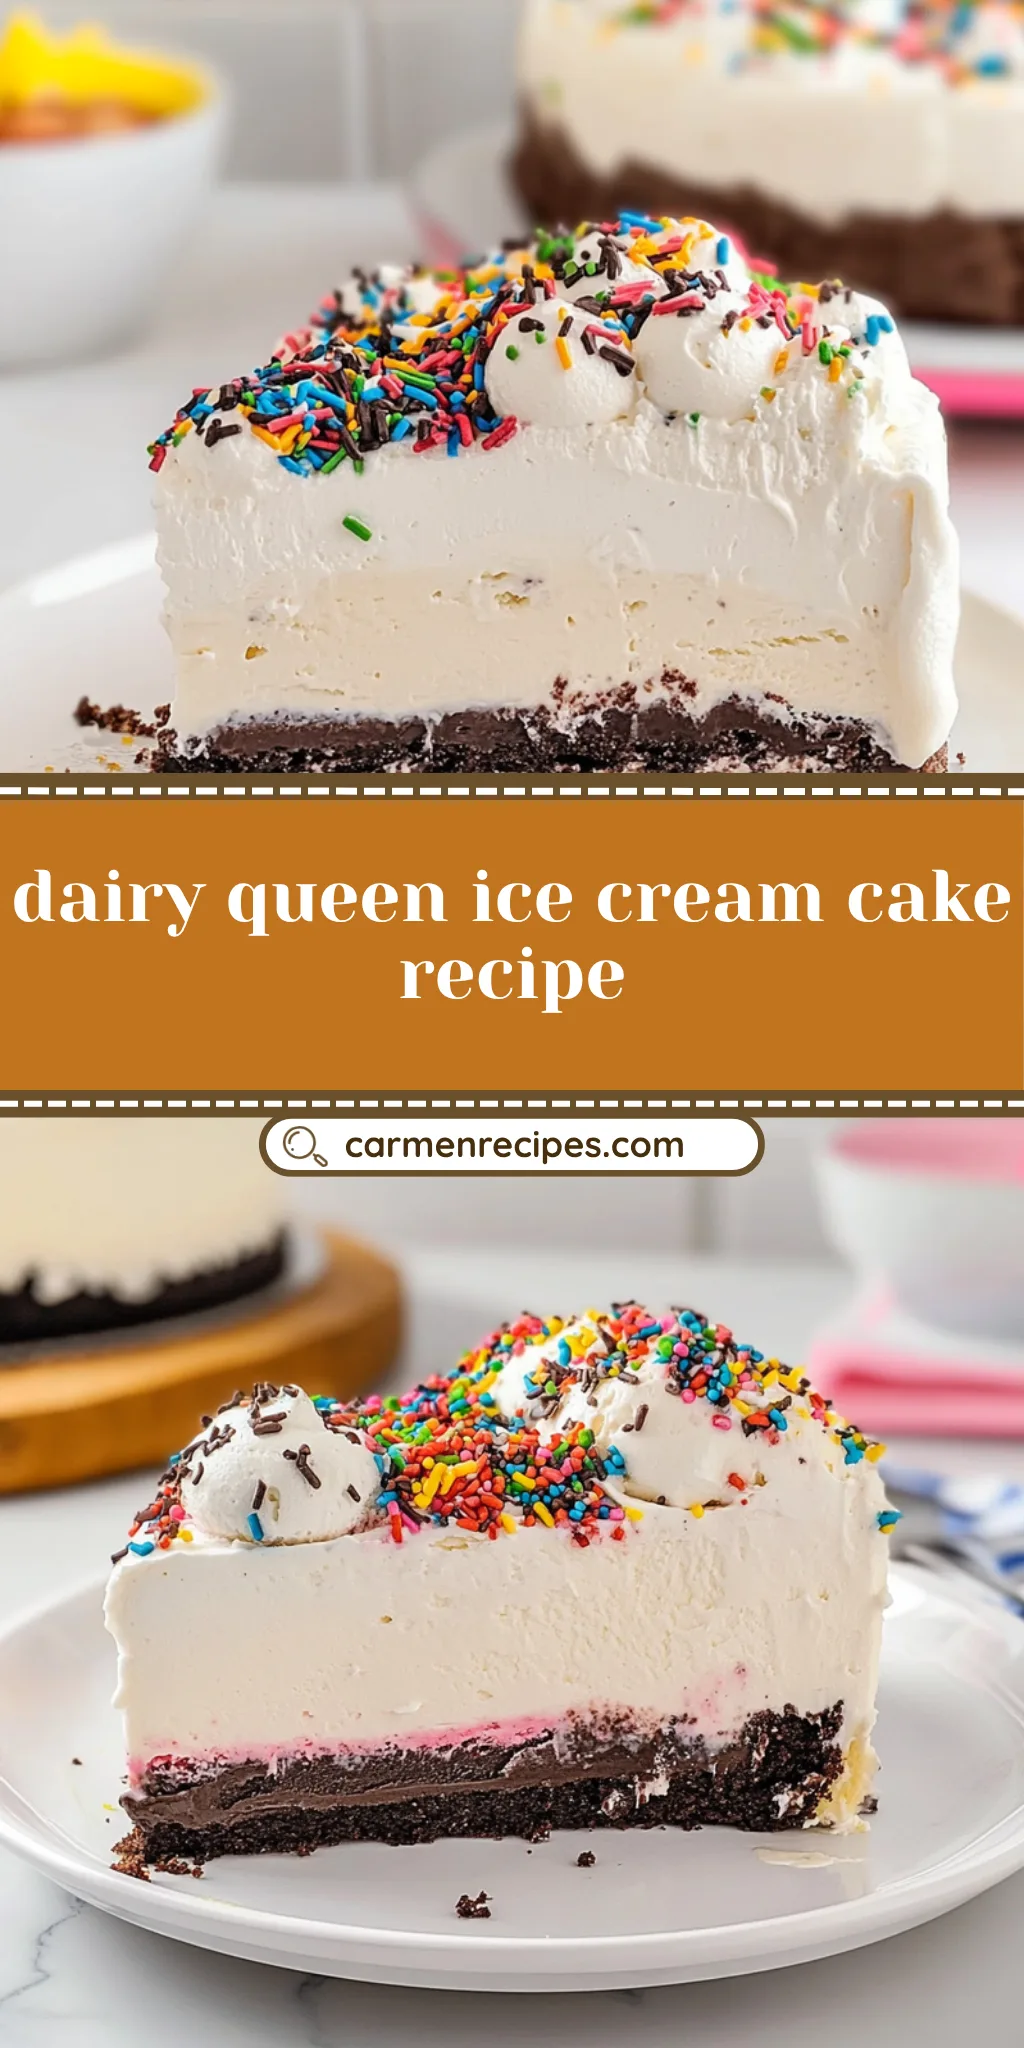
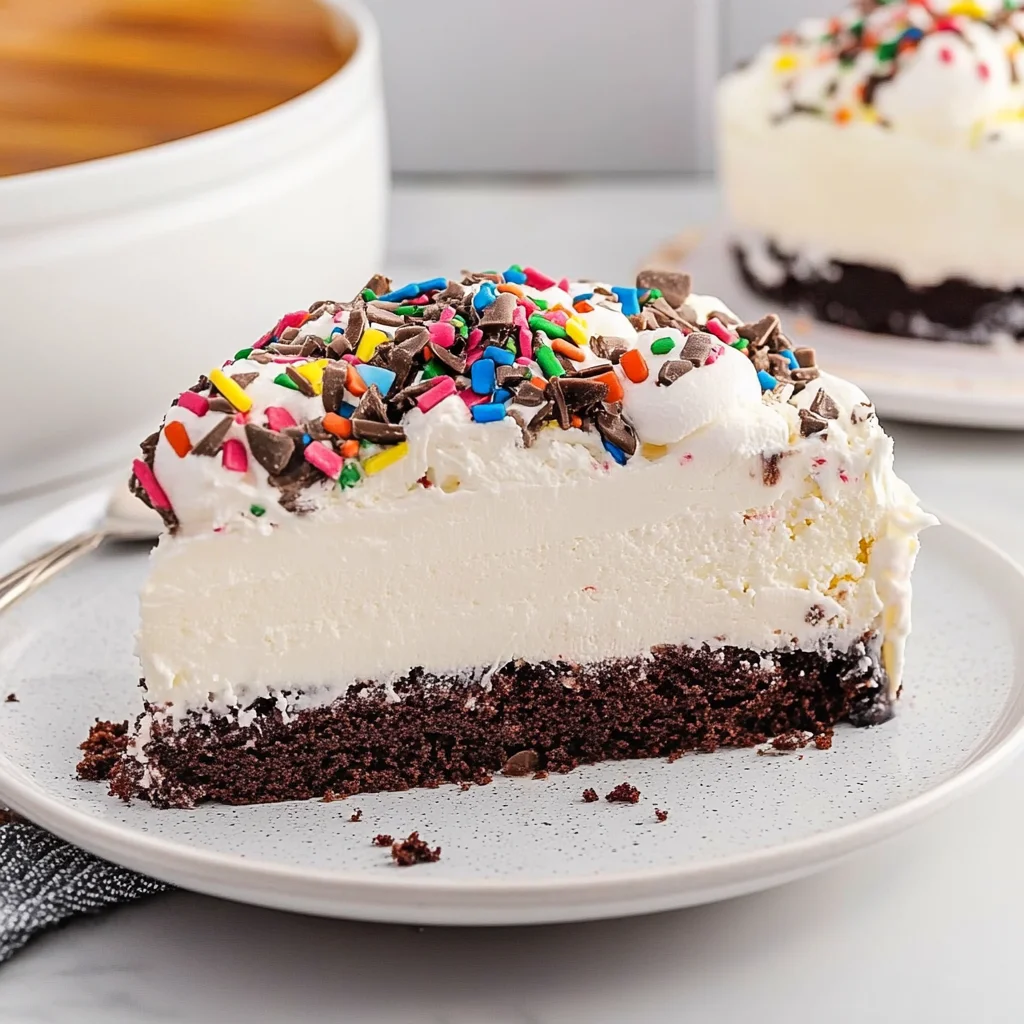
Imagine diving into a slice of Dairy Queen ice cream cake, where the creamy layers of chocolate and vanilla ice cream meld together, creating a symphony of flavors that dance on your taste buds. The moment you cut into it, a luscious wave of whipped cream and rich chocolate fudge cascades over the sides, leaving you in sweet anticipation of that first heavenly bite.
This cake isn’t just dessert; it’s a celebration on a plate, perfect for birthdays or any occasion that calls for joy and indulgence. I still remember the laughter and happiness shared with friends as we devoured this delightful treat, each spoonful reminding us why life is better with a little sweetness. Trust me, once you experience the bliss of Dairy Queen ice cream cake, you’ll be counting down to your next excuse to enjoy it.
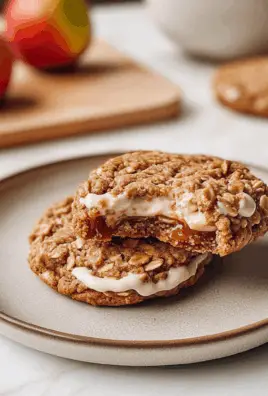
Why Is dairy queen ice cream cake So Irresistibly Good?
Indulge in the delightful layers of rich chocolate and creamy vanilla ice cream that create a perfect balance of flavors. Effortless to make, this no-bake cake can be whipped up in just 30 minutes, saving you time without sacrificing taste. Versatile enough for any occasion, it’s a crowd-pleaser that everyone will love. Garnished with fluffy whipped cream and drizzled with chocolate fudge, each slice is a sweet celebration that brings smiles all around!
dairy queen ice cream cake Ingredients
- For the Cake Layers
- 1 box chocolate cake mix – Prepare according to package instructions for a rich and moist base.
- 1 quart vanilla ice cream – Softened to make layering easier and achieve a creamy texture.
- 1 quart chocolate ice cream – Softened for a delightful and indulgent twist in every bite.
- For the Frosting and Toppings
- 1 cup whipped cream – Perfect for topping, adding a light and airy finish to your cake.
- 1/2 cup chocolate fudge sauce – Drizzle this over the top for an extra layer of decadence in your dairy queen ice cream cake.
- 1/2 cup chocolate cookie crumbs – Use these for decoration, providing a crunchy contrast to the creamy layers.
Step-by-Step dairy queen ice cream cake
1. Bake the chocolate cake mix according to package instructions in a 9-inch round cake pan. Allow it to cool completely before moving on to the next step; this should take about 30 minutes.
2. Spread a layer of softened vanilla ice cream on top of the cooled cake. Use a spatula for an even layer, then freeze for 30 minutes until firm.
3. Layer with softened chocolate ice cream on top of the vanilla layer. Smooth it out nicely and freeze again for another 30 minutes, allowing the flavors to meld beautifully.
4. Frost the entire cake with whipped cream, covering both the top and sides generously. This fluffy layer will create a delightful contrast to the rich ice cream beneath.
5. Drizzle chocolate fudge sauce over the whipped cream, letting it cascade down like sweet rain. Then, sprinkle with chocolate cookie crumbs for an inviting crunch and decoration.
6. Freeze the entire cake for at least 2 hours before serving, ensuring it’s firm and ready to slice into delicious layers of joy.
Optional: Garnish with fresh berries for a pop of color!
Exact quantities are listed in the recipe card below.
Expert Tips
- Cool Cake Completely: Ensure your chocolate cake is completely cooled before adding ice cream layers to prevent melting and a soggy texture.
- Soften Ice Cream: Allow the vanilla and chocolate ice cream to soften just enough to spread easily, but don’t let it become too runny for a better layer effect.
- Layer Control: Use a spatula to evenly spread each ice cream layer. This helps avoid an uneven dairy queen ice cream cake that may not freeze correctly.
- Whipped Cream Application: When spreading whipped cream, work gently to avoid mixing it with the ice cream layers beneath, preserving clean lines and a beautiful finish.
- Freezing Time Matters: Don’t rush the final freeze; allow at least 2 hours for the cake to set properly. This ensures firm slices when serving.
- Decorative Touches: For added flair, consider using colorful sprinkles or fruit alongside chocolate cookie crumbs for decoration—just keep it balanced!
How to Store and Freeze dairy queen ice cream cake
- Fridge: Keep your ice cream cake in the fridge for up to 3 days. Use an airtight container or cover it with plastic wrap to maintain freshness.
- Freezer: For longer storage, place the cake in the freezer. Properly wrapped, it can last up to 2 months without losing its creamy goodness.
- Thawing: To enjoy your frozen dairy queen ice cream cake, transfer it to the fridge for about 30 minutes before serving. This softens it just right for slicing.
- Leftovers: If you have leftover whipped cream or fudge sauce, store them separately in the fridge for up to 5 days.
dairy queen ice cream cake Your Way
Feel free to sprinkle your own flair into this delightful treat and make it uniquely yours!
- Gluten-Free: Use a gluten-free chocolate cake mix for a delicious alternative that everyone can enjoy. This ensures that those with dietary restrictions don’t miss out on the fun!
- Nutty Crunch: Add 1/2 cup of chopped nuts between the layers for an unexpected crunch. Walnuts or pecans work beautifully, giving each bite a delightful texture.
- Fruity Twist: Incorporate layers of fresh strawberries or raspberries for a fruity burst. The sweetness of the berries complements the rich ice cream perfectly.
- Minty Fresh: Try chocolate mint ice cream in place of regular chocolate for a refreshing flavor change. It adds a cool twist that’s perfect for summer gatherings!
- Coffee Lovers: Blend in coffee-flavored ice cream with the chocolate layer for an indulgent mocha experience. This rich flavor pairs exquisitely with the whipped cream topping.
- Caramel Drizzle: Swap out chocolate fudge sauce for caramel sauce to create a sweet, gooey layer on top. The caramel adds warmth and depth to each slice.
- Colorful Layers: Use rainbow sherbet instead of vanilla ice cream for a vibrant, playful look. Kids will love the colorful surprise hidden inside!
- Spicy Kick: Mix in a hint of cinnamon or cayenne pepper into your chocolate cake batter for a warm spice note. Just a pinch will elevate the flavors wonderfully!
Make Ahead Options
This delightful dairy queen ice cream cake is perfect for meal prep, allowing you to enjoy its creamy goodness without the last-minute rush. You can bake the chocolate cake and let it cool completely up to 24 hours in advance. The ice cream layers can also be prepared ahead of time; simply spread the softened vanilla ice cream on top of the cake and freeze it for 30 minutes, followed by a layer of chocolate ice cream for another 30 minutes. For added convenience, you can whip the cream and drizzle the chocolate fudge sauce up to 3 days in advance. Just remember to keep each component stored properly to maintain freshness. When you’re ready to serve, finish by spreading the whipped cream over your frozen layers, adding the fudge drizzle, and sprinkling with cookie crumbs before freezing the entire cake for at least 2 hours. With these make-ahead tips, your dairy queen ice cream cake will be a showstopper at any gathering!
dairy queen ice cream cake Recipe FAQs
What type of chocolate cake mix should I use?
You can use any standard chocolate cake mix you love! Just prepare it according to the package instructions for a delicious base. This will ensure a moist and flavorful cake layer that complements the creamy ice cream perfectly.
How long does this ice cream cake need to freeze?
After assembling your layers, be sure to freeze the entire cake for at least 2 hours before serving. This allows the ice cream to firm up nicely, making it easier to slice and serve. You want that perfect balance of creamy and solid!
Can I make this dairy-free?
Absolutely! You can substitute the vanilla and chocolate ice creams with dairy-free alternatives made from almond, coconut, or cashew milk. Just make sure to check the labels for added sugars if you’re watching your intake. Your family will still enjoy all the deliciousness!
How should I store leftovers?
If you have any leftover slices (though that’s unlikely!), wrap them tightly in plastic wrap or store them in an airtight container. They can stay in the freezer for up to a week while retaining their delightful flavors. Just remember to let it sit out for a few minutes before serving so it’s easier to cut!
What’s a good way to decorate my ice cream cake?
The sky’s the limit here! Feel free to get creative with your toppings. In addition to whipped cream, chocolate fudge sauce, and cookie crumbs, consider adding sprinkles, fresh fruits like strawberries or bananas, or even crushed candies for a fun twist.
How many servings does this recipe yield?
This delightful dairy queen ice cream cake serves 8 generous slices. Each slice packs about 350 calories of pure joy—perfect for sharing with family and friends during special occasions or simply as a sweet treat on a sunny afternoon!
Dairy Queen Ice Cream Cake
Ingredients
Method
- Bake the chocolate cake mix according to package instructions in a 9-inch round cake pan. Allow to cool completely.
- Once the cake is cool, spread a layer of softened vanilla ice cream on top of the cake. Freeze for 30 minutes.
- Spread a layer of softened chocolate ice cream on top of the vanilla layer. Freeze for another 30 minutes.
- Spread whipped cream over the top and sides of the ice cream layers.
- Drizzle chocolate fudge sauce over the whipped cream and sprinkle with chocolate cookie crumbs.
- Freeze the entire cake for at least 2 hours before serving.

Leave a Comment